Installing a polished concrete floor is not exactly an easy task. It requires a lot of planning and a whole lot of working hours.
Timing is key when installing a polished concrete floor. Getting the timing wrong could involve ripping everything out and starting all over again. This job would normally take 3-6 days depending on the size and the condition of the room.
Getting this flooring looking perfect takes a lot of time and skill. Every step is very important, and making sure that there are no weak links is a priority. If this is not done right, the whole floor integrity can fall apart. Longevity is important when we are dealing with heavy duty floorings.
Here are the steps involved in installing a polished concrete floor:
1. Preparation
This step is actually a lot of work, as we will need to do a lot of prying and surveying. We have to make sure the surface is suitable and as ready as it can be.
We then make sure to get the substrate right (the layer beneath the actual flooring). Next step is knowing what type of things we are dealing with underneath there before proceeding.
Once everything is okay, the excavation can begin. We remove the floorboards one by one while making sure to mark out the floor height with a line. Next thing is to place a layer of sand at the very bottom to keep the moisture out before placing a sheet of plastic on top. We keep doing this until we have two layers and then top it with a wire mesh.
2. Pouring
 Carefully, we pour the concrete in and then level using a float. Depending on the size of the area, it can take up to two to three days to set completely. This is the longest waiting period that the job will require but getting it right is very important.
3. Polishing
It is now time to have the concrete floor polished. We will use a planetary grinder for this job. After installing the proper plates on the planetary grinder we then start going through the entire room while being extra careful when bumping into walls.
If this is done incorrectly, this could cause the lower part of the walls to have scratches and nicks. After this is done, we will then remove the tool marks using a transitional hybrid tool. This is to remove the impressions left on the surface from all the grinding.
4. Sealing
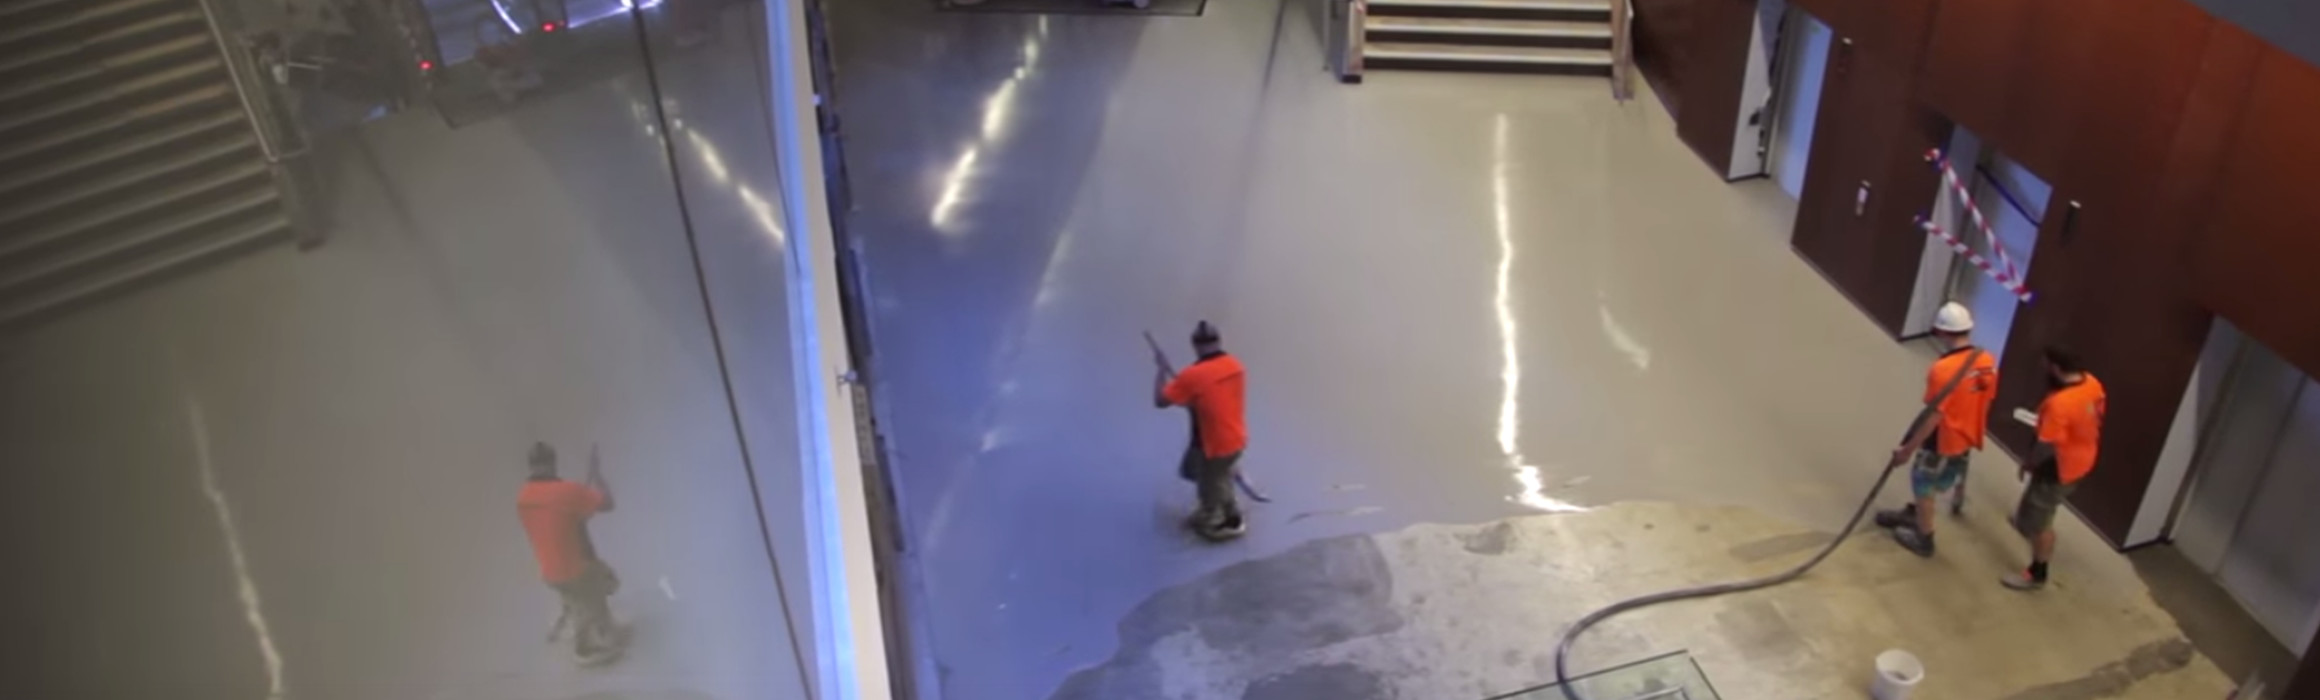
The floor is then prepared for one final cleanup using a non-abrasive cloth to remove all the debris on the surface. Next step is applying the sealer with a sealer applicator spray and carefully applying it to the concrete floor. We then make sure that the sealer is applied on all areas of the floor and as evenly as possible. After that is accomplished, we use a floor polisher to finish the job.
There are a few natural elements to be wary of. It is critical that absolutely nothing gets into the area during sealing. This includes insects such as flies and moths. Also leaves or debris may get blown in by the wind.
Even the smallest element can alter the mirror smooth finish we are going for. For this reason we go through big lengths to seal off the area as much as we possibly can. Even rats and possums can sometimes come in and stain the floor overnight. Imagine a mirror smooth finish with a dead insect in the centre or foot prints across.
Make a wrong preparation to this step and we will have to re-do the entire sealing process again. Besides the pests, there is also the issue of sunlight, which may cause some areas to dry faster than others. For this reason we make sure all windows are blacked out.
5. Drying
 Finally, after the floors are sealed, it usually takes just around 30 minutes to dry. The good thing about installing a polished concrete floor is that they do not have any cure time.
These are the fundamental steps involved in installing polished concrete. The most important skill to make this job perfect is experience and precision. Having the right team – not just the right materials – is the key to producing a world class finish.
Related Tags: Terrazzo Floors Sydney