 The advent of polished cement floors has certainly changed the way we think about concrete flooring. We used to associate concrete floors and walls with coldness and blandness.
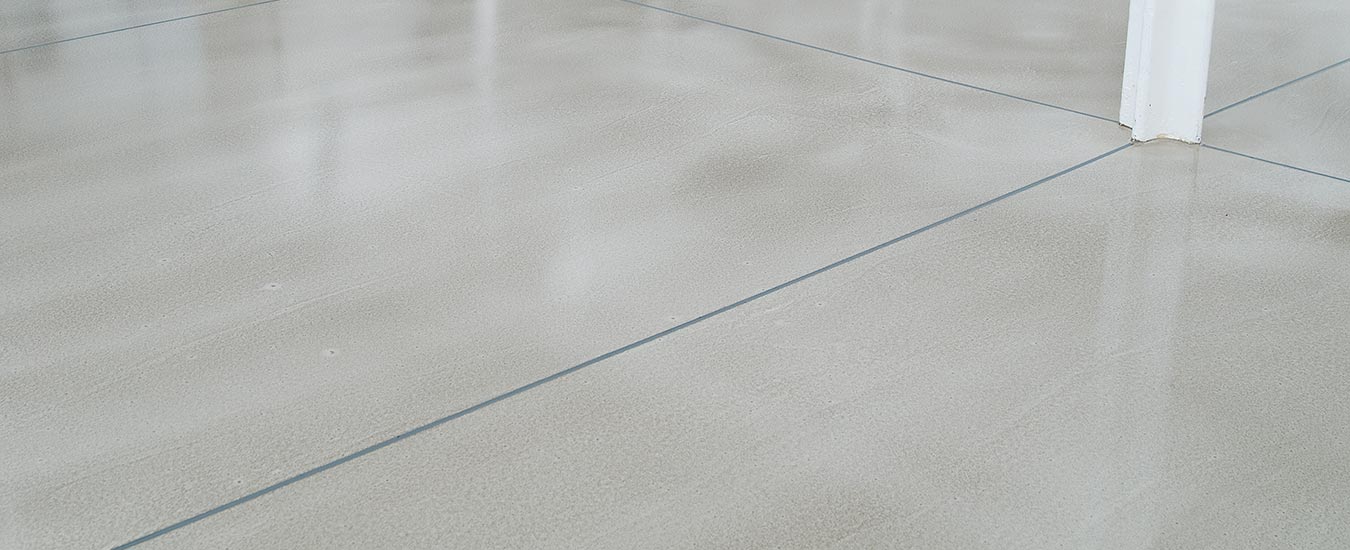
Not anymore, not with the beauty, elegance and style that polished cement brings with it.
How do we at Honestone provide you with polished concrete that meets all your requirements? Let’s take a closer look at the basics of polished cement floors.
Surface Inspection and Preparation
As with any project that requires a specialised technique, the road to a polished concrete floor starts with preparation on our part. We do a site inspection and take a number of variables into consideration. For starters we evaluate the concrete and make the necessary adjustments on our polishing process based on its degree of mineral hardness.
We also make sure to check if the substrate is suitable and meets all the right points in our checklist. Our preparation also involves identifying if the concrete has high or low spots. We also check for minor cracks and blemishes. Should cracks be found, we fill them in using an epoxy or a suitable semi-rigid joint filler. If the floor has existing sealers, epoxy coatings, paints or any kind of adhesive, we remove them before we begin with the polishing process.
Grinding
 The actual polishing process always starts with a rough grinding of the concrete surface. For this we use machines that are fitted with diamond-segmented abrasives. Normally, we start with a coarse 40-grit metal-bonded diamond. We then follow it up using the finer 80-grit metal-bonded diamond then the even finer 150-grit metal-bonded diamond. On average, each step should complete at least two passes on average.
Densifying the concrete
It is common practice to densify the concrete after the initial coarse grinding. For this, we use a liquid chemical hardener that is usually made of sodium-, lithium- or potassium-based silicates. Aside from help densify and strengthen the concrete, this procedure also protects the concrete from staining and water penetration. More importantly, densifying the concrete also helps us produce a better polish.
Polishing
 After the initial grinding and densifying of the concrete comes the final polishing process. Taking off from the last pass we made with the 150-grit metal-bonded abrasive, we now use diamond abrasives embedded in a resin matrix. This time, we start with a 100-grit resin bond. Then we move up to finer grits, which would be 200, 400, 800 and all the way up to 3000 if the client desires a very high-gloss finish.
Sealing
When we’ve achieved the desired sheen, we protect the concrete against grease, dirt, and other stains. To achieve this, we apply a water-based or solvent-based concrete sealer. Aside from making it more resistant to stain absorption and dirt, the sealer—especially a glossy one—helps give more sheen to an already polished floor.
The concrete polishing process actually involves many more minute details – that all have to be done right – but the above steps provide you the basics of what we do.
If you are an architect or builder working on a project requiring great outcomes and enduring results for your polished cement floors, contact us today.